Getting Started with Qt 6.x
In this article, we are going to install Qt and create the sample Qt application on a GNU/Linux Debian system.
- Install the required dependencies needed for Qt
sudo apt install libxcb-cursor0 \ libxcb-cursor-dev cmake \ libgl1-mesa-dev libxkbcommon-x11-dev - Create an account on Qt.
- Download Qt for open source from this link. This will download a file named
qt-online-installer-linux-x64-4.8.1.run. The version in the file name might change based on when you are reading. - Make the downloaded file executable using using following command.
chmod +x qt-online-installer-linux-x64-4.8.1.run - Run the executable
./qt-online-installer-linux-x64-4.8.1.runand follow the process, such as providing login details, selecting components to install, agreeing to the license, etc.
If you encounter an error for the mirror, try running the executable with a different mirror, such as
./qt-online-installer-linux-x64-4.8.1.run --mirror http://qt.mirror.constant.comWait for the process to complete, as it downloads more than 1GB of data.
---
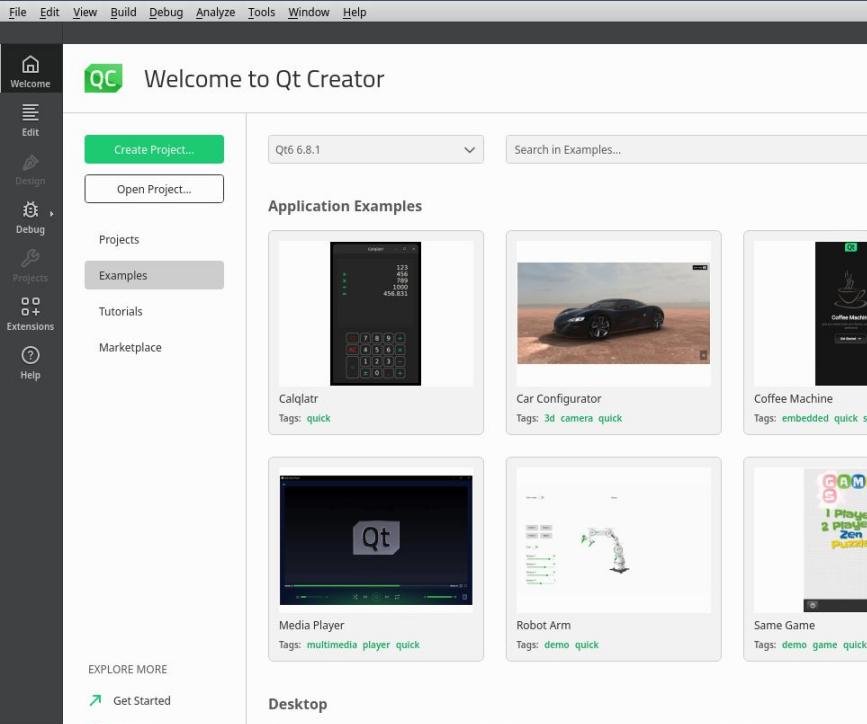
After the successful installation of Qt, you should see that Qt Creator is installed.
- Go ahead and open Qt Creator.
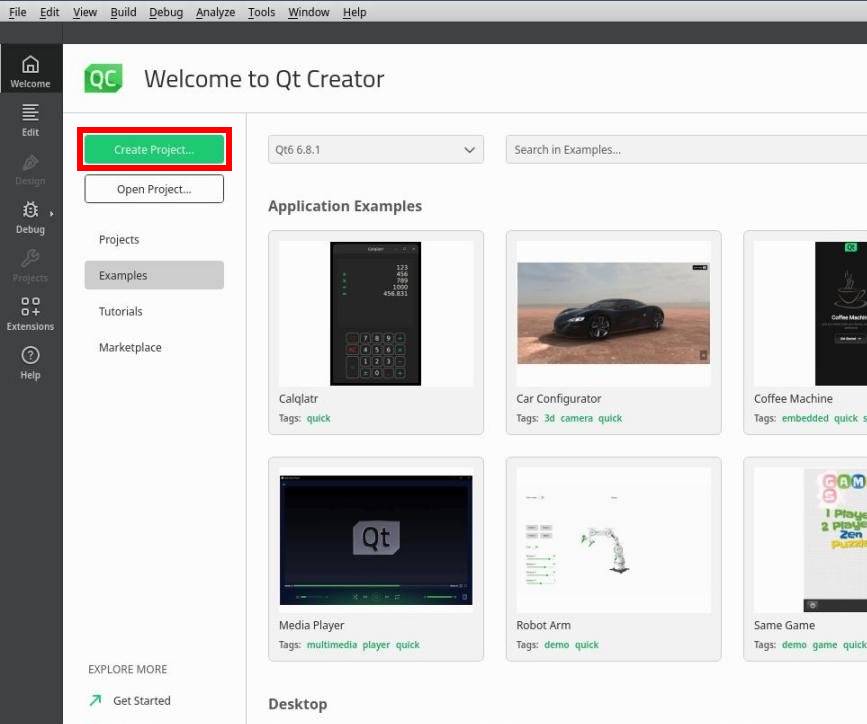
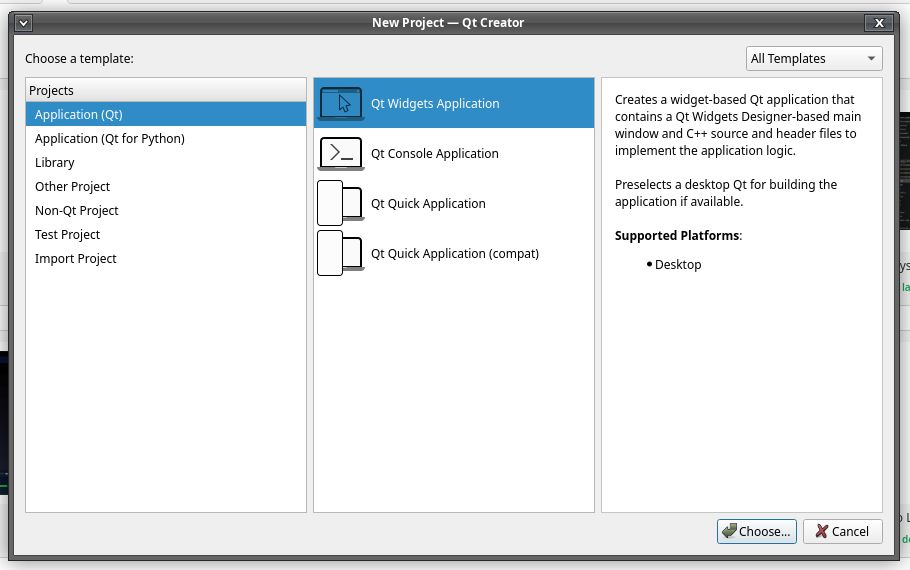
- Click on the ‘Create Project…’ button and choose ‘Qt Widgets Application’.
- Give a name to the application (e.g.,
hello_world) and select a location where you’d like to save the project on your computer.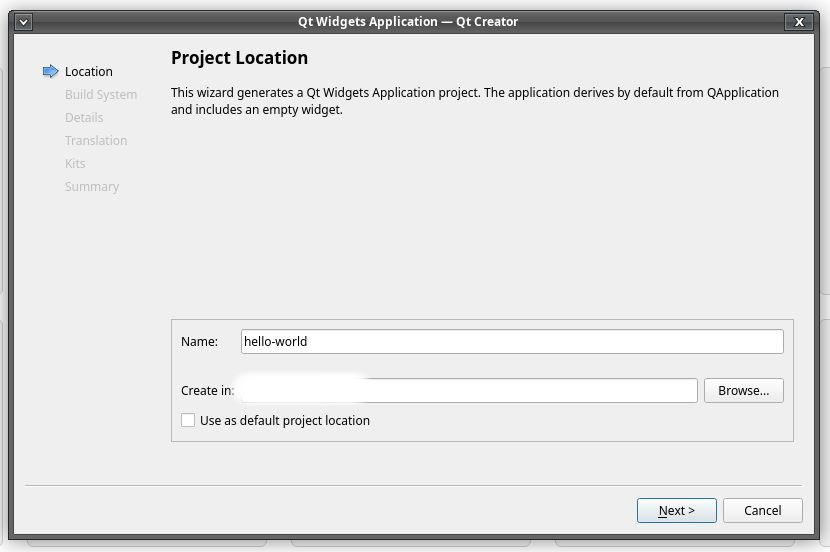
- Next, it will ask you to choose the Build System. Go with CMake.

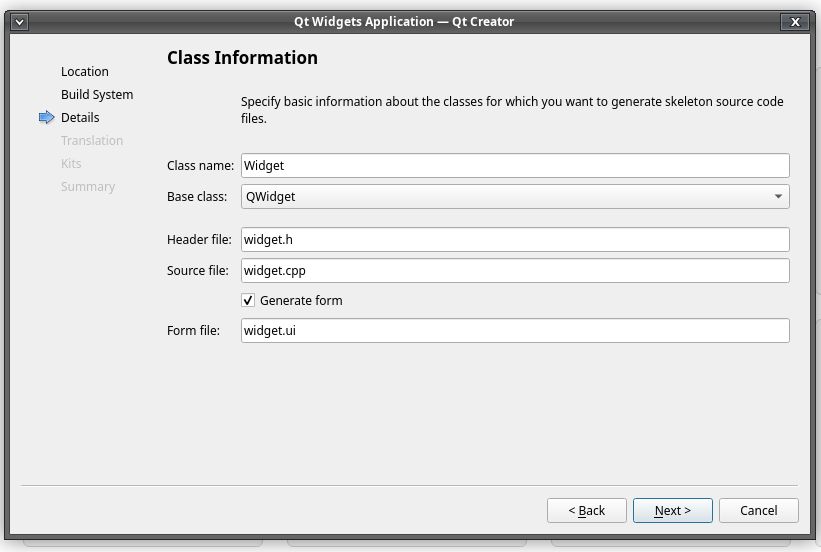
- It will then ask for the Class Information. Select ‘QWidget’ for the Base class and click Next.
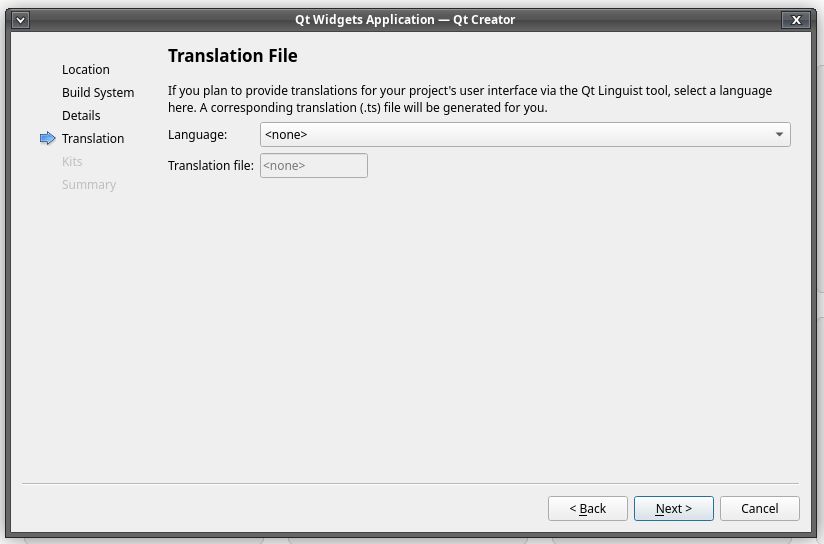
- For now, we’re not interested in translations, so just click Next without making any changes.
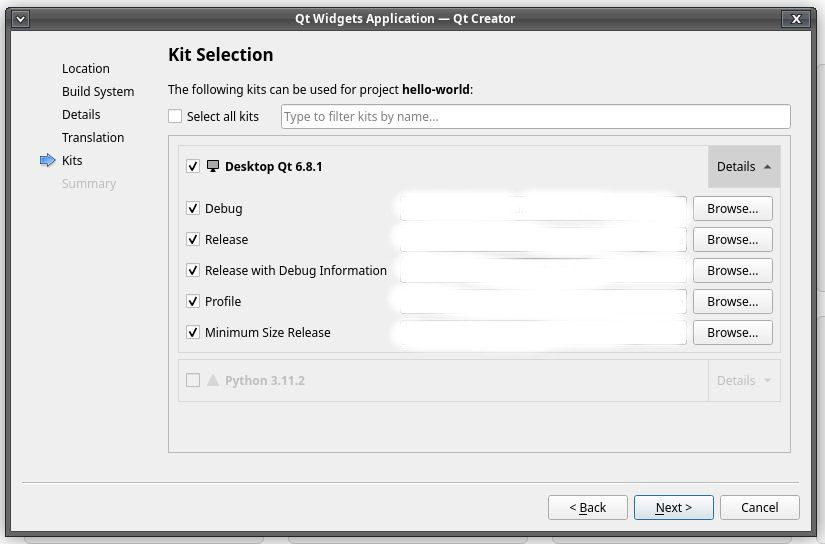
- Again, don’t make modifications in Kit Selection screen and click Next.
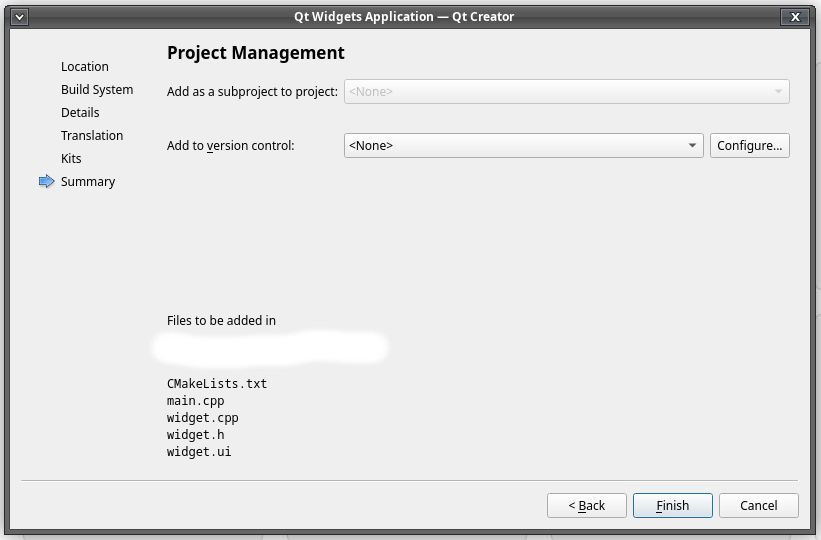
- Finally, you can add version control if you want, or click Finish.
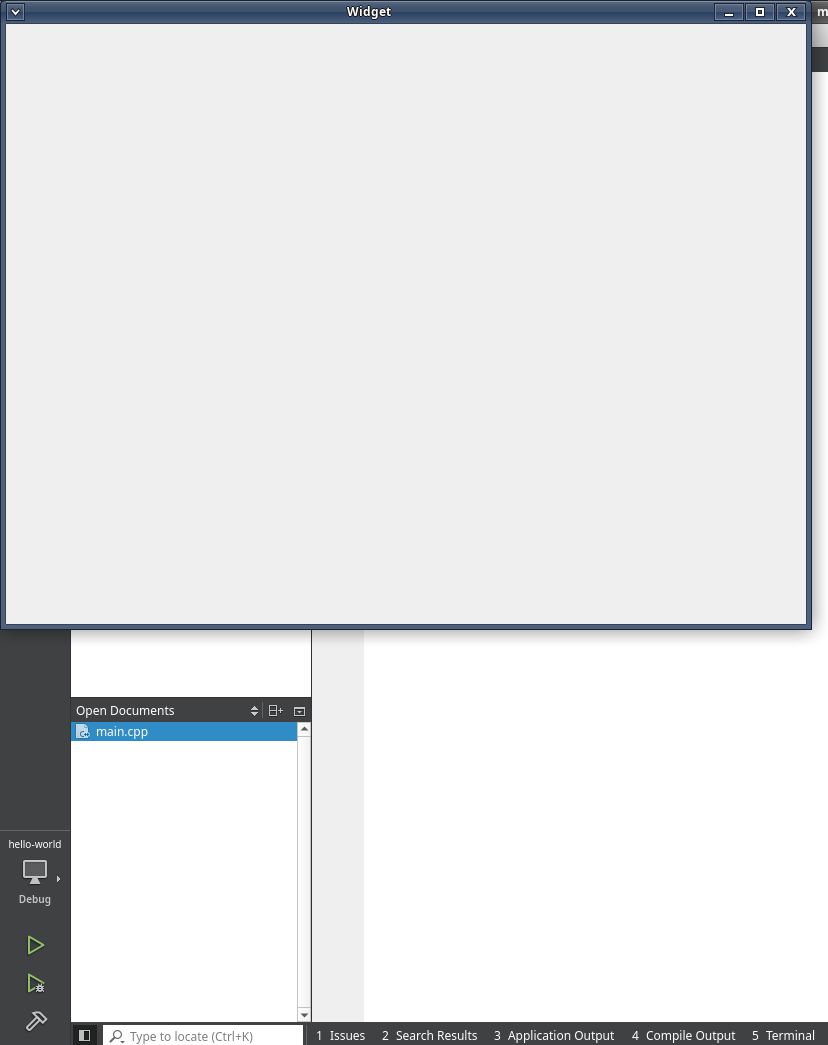
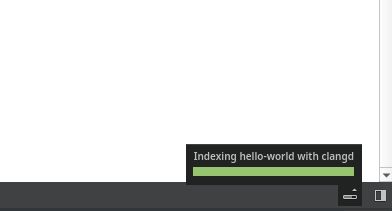
- Wait for the process to complete. Then you should be able to run the application.
- Run the application by pressing the green play icon from the panel or menu, or by pressing
Ctrl+R.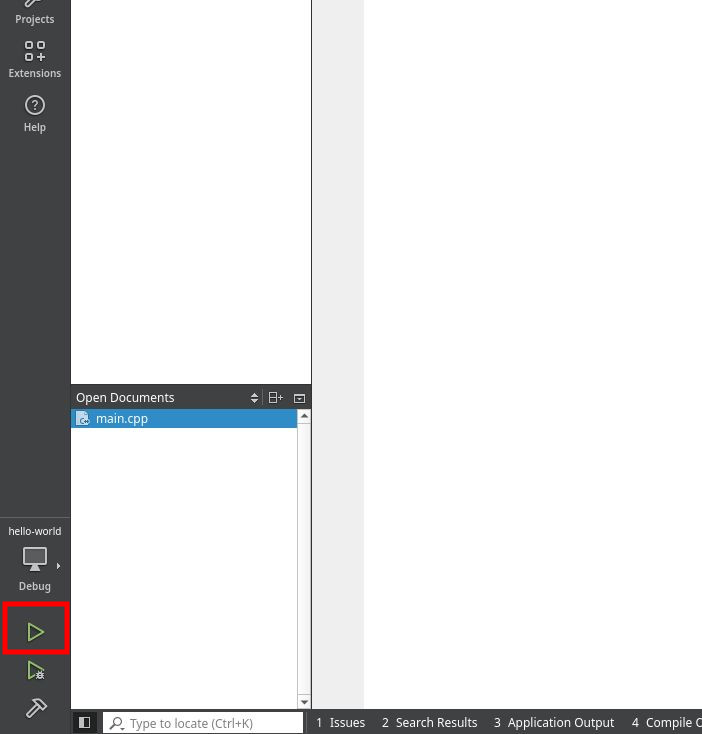
- You should see a blank window as output.