Hello World App in Qt 6.x
In this article, we are going to build a simple hello world application using Qt.
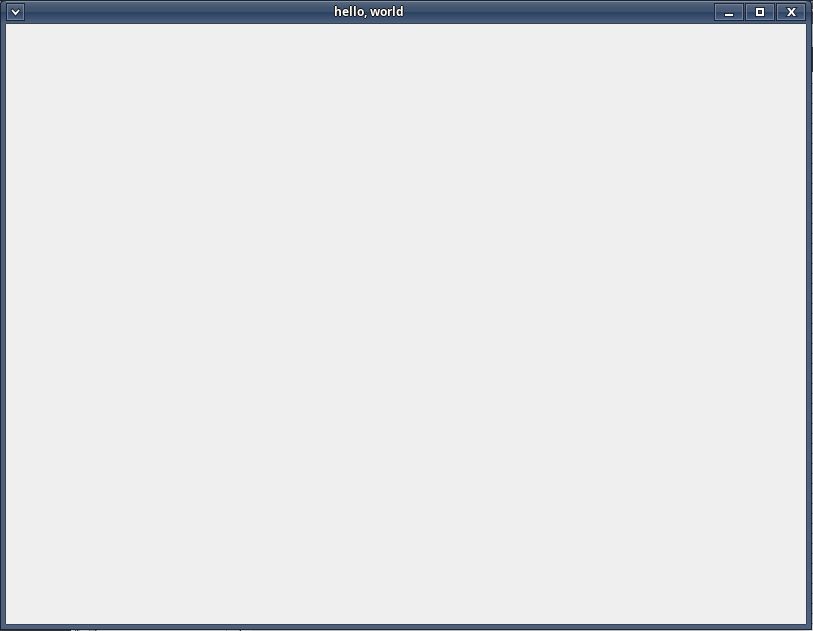
Go ahead and create a new project named hello_world2 in Qt Creator. Please follow the steps mentioned in this article on how to create a project in Qt Creator, including what to select and write in each step of the project creation. Try to run the application as well to make sure the project is configured correctly. After a successful run, you should see output like this:
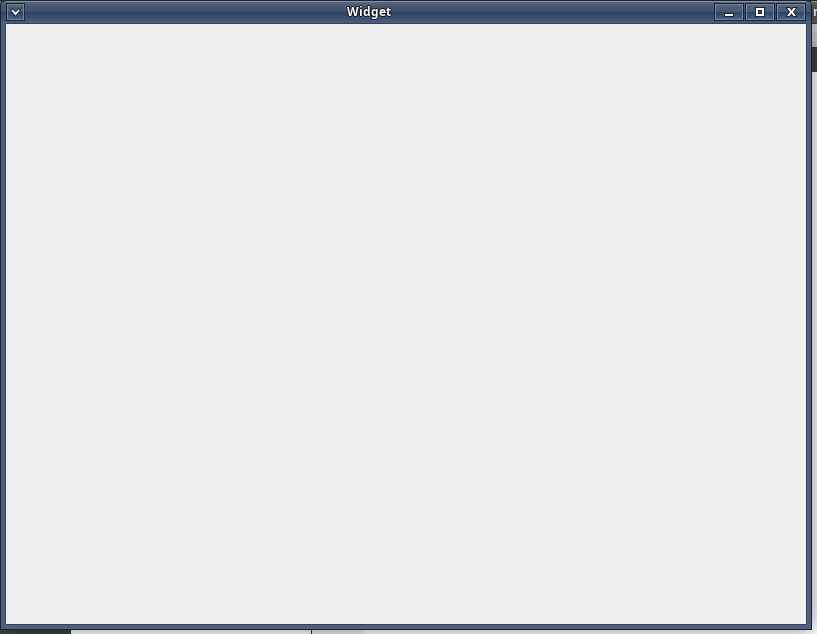
Notice that the title of the output is “Widget.” Let’s change it to “hello world.”
This is the current folder structure of our Qt application:
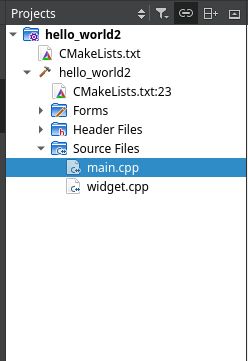
Expand the “Forms” folder, and you’ll see a file named widget.ui.
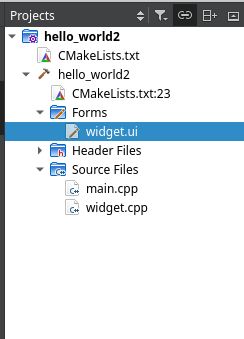
Go ahead and double click on it. It will open the application in Design mode.

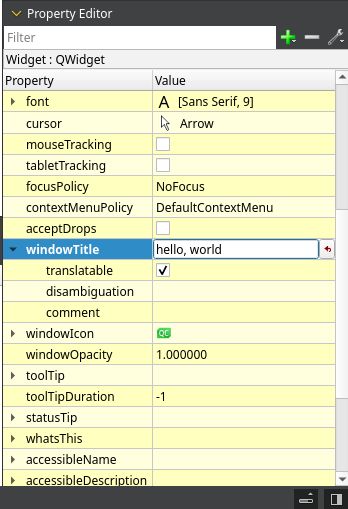
We will know each part of this screen as we proceed with the tutorial, but for now, focus on the bottom-right side of the panel. This panel is called the “Property Editor.”
It contains a list of all the properties that a given widget can have. You can view and edit them as well. Look for the property name windowTitle and change it to “hello world.”
Save the changes and run the application. You should see that the title has changed from “Widget” to “hello world.” Great!
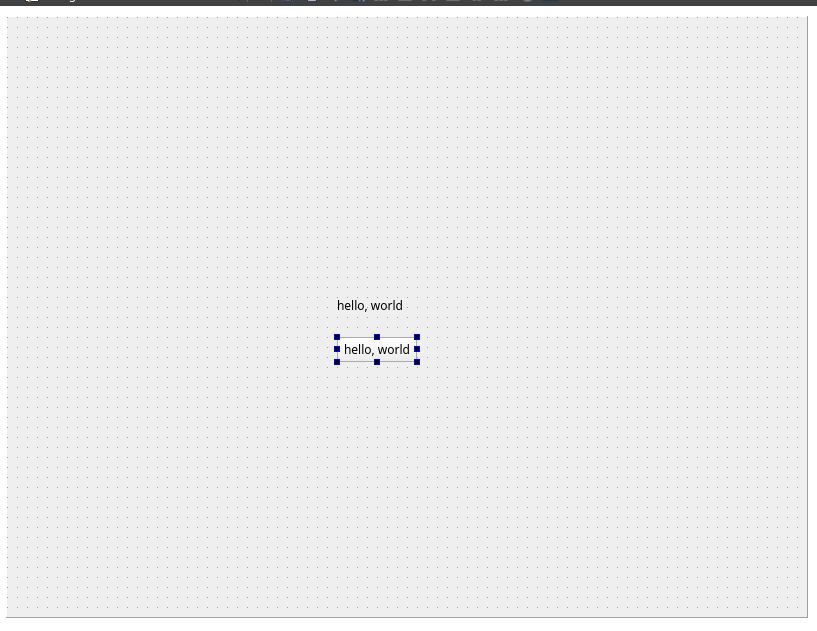
Since we are in Design mode, there is also something called the “Widget Box” panel. This panel contains a collection of widgets that are ready to use. We simply need to drag and drop them to use them. To display simple text, we need to use the “Label” Display Widget. Look for the “Label” in the “Display Widgets” section and drag and drop it into the Widget application area. Here is the video that demonstrate these steps.
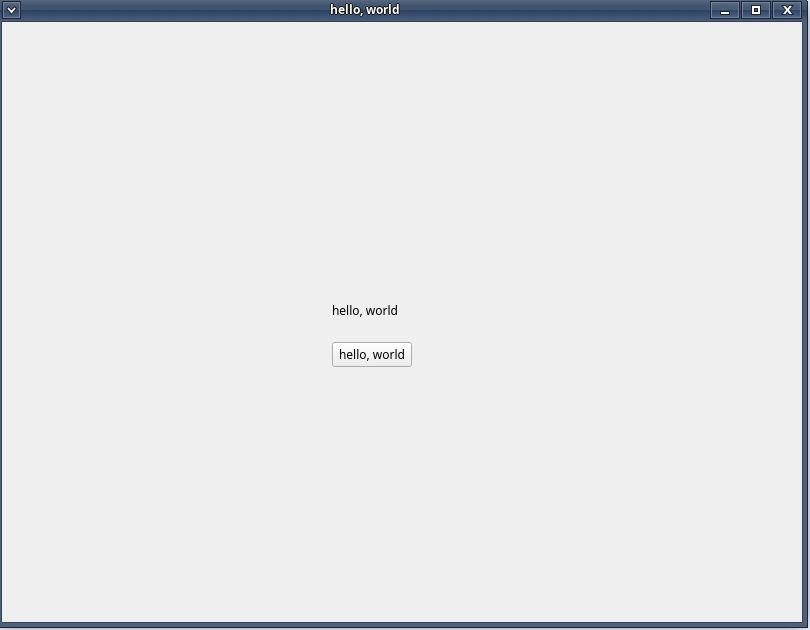
Save the changes and run it. You should see that the “hello world” text is displayed in the center of the output screen.
Now, look for the “Push Button” widget in the “Buttons” section of the Widget Box panel. Drag and drop it below the “hello world” label, just like we did in the label previously, and change its button text to “hello world”.
We now have the “hello world” program again!
Let’s make one more change before we complete this article - make the button clickable and print the “hello world” string in the terminal when the button is clicked.
Go back to the design mode, select the button, right-click on it, and then click on “Go to slot…”. This will open a popup window where you should select the “clicked()” signal from the “QAbstractButton” section. Here is the video that demonstrate these steps.
After selecting the “clicked()” signal, it will create a function named on_pushButton_clicked in the widget.cpp file and take you there to write the code that will be executed when the button is clicked.
#include "widget.h"
#include "./ui_widget.h"

Widget::Widget(QWidget *parent)
    : QWidget(parent)
    , ui(new Ui::Widget)
{
    ui->setupUi(this);
}

Widget::~Widget()
{
    delete ui;
}

void Widget::on_pushButton_clicked()
{

}
Let’s use qDebug() function from QDebug header file to print the hello, world text in the terminal as follows.
#include "widget.h"
#include "./ui_widget.h"
#include <QDebug>
Widget::Widget(QWidget *parent)
: QWidget(parent)
, ui(new Ui::Widget)
{
ui->setupUi(this);
}
Widget::~Widget()
{
delete ui;
}
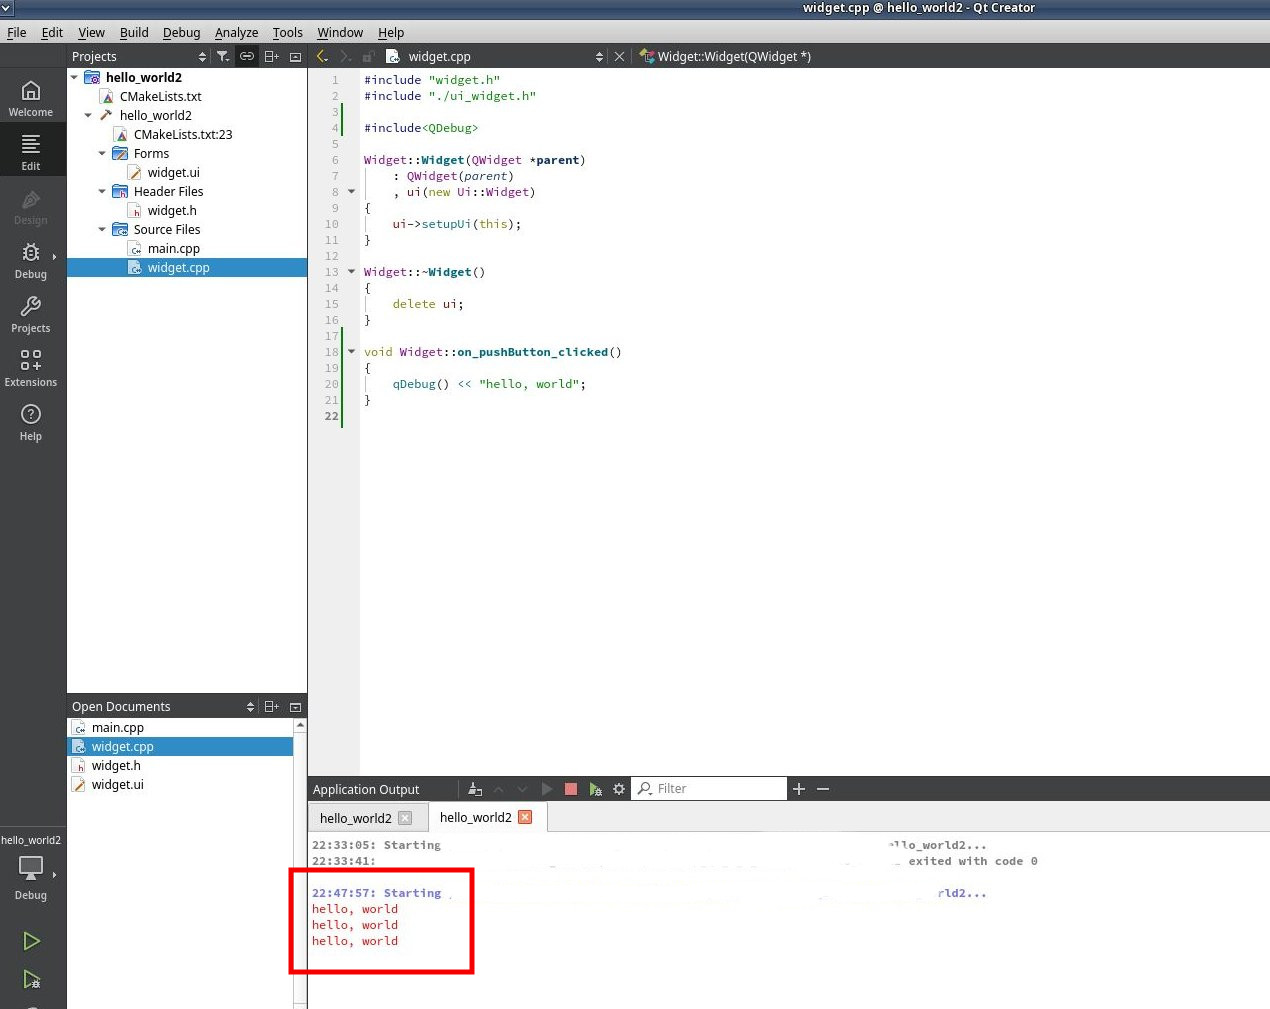
void Widget::on_pushButton_clicked()
{
qDebug() << "hello world";
}Run the application and click the “hello world” button. You should see the text “hello, world” in red color every time you click the button in the Application Output.